
How to start a ham?
- DO Origin, Tips and Tricks
Indice

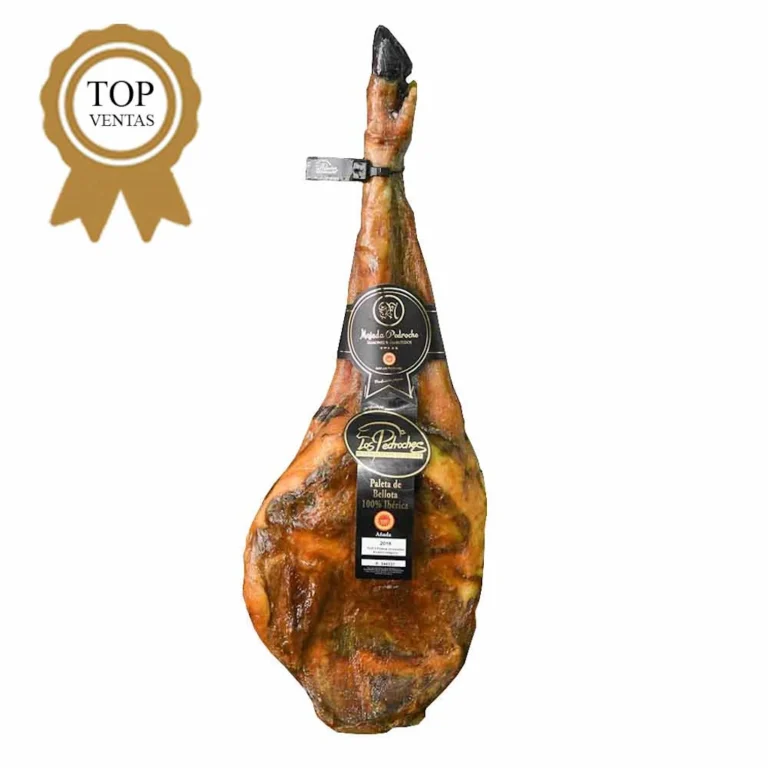
To start a ham: a ham holder
How to start a ham? This tool is essential when starting a ham, especially if it’s an acorn-fed Iberian ham, not only to do it correctly but also for our safety. Remember that a good ham holder is practically indestructible, so it’s worth spending a little more to acquire a quality, solid, and stable one.
To start a ham, we have two options: hoof-side up or down. This decision is more important than it seems, and will depend on how quickly the ham will be consumed.
If the ham won’t last long, it’s better to have the hoof-side up. Then, start with the noble side of the ham, the more tender and juicy side, where the fat has infiltrated the meat more.
If, on the other hand, we think the ham will last for months, it’s more reasonable to start with the babilla (shank), that is, placing the ham in the ham holder with the hoof facing down. Remember that the babilla (shank) is the driest part, which will allow us to store the ham inside intact for longer, without it drying out.
This way, we can move from one part to the other when cutting the ham and touching the bone with the knife.
How to protect the ham once it’s started?
Always keep it at room temperature and away from sunlight, preferably in a cool, dry place, to prevent the appearance of the dreaded mold. Also, once the ham is started, we should reserve the fat rind that we cut off at the beginning and that we won’t consume, as a protective cover for the ham.
The composition of this fat itself slows the ham from drying out and thus protects it from the growth of mold. With this system, our ham will last without problems for more than a month.
How to Master the Art of Slicing Iberian Ham: A Guide to Flavorful Perfection
Famous for its rich flavor and melt-in-the-mouth texture, Iberian ham is a delicacy beloved by food enthusiasts around the world. However, harnessing the full potential of this culinary treasure requires more than just appreciating it: it requires mastering the art of slicing it. From the angle of the cut to the thickness of the slices, every detail contributes to the ultimate enjoyment of Iberian ham.
Preparation is key: before slicing the ham, make sure it’s properly prepared. Iberian ham should be kept at room temperature for at least an hour before slicing to enhance its aroma and flavor. Also, use a sharp, thin-bladed knife specifically designed for slicing cured meats. This will facilitate clean, precise cuts and minimize tearing.
- Positioning the Ham: Place the Iberian ham on a stable surface, such as a sturdy ham holder or a non-slip cutting board. Position the ham with the widest part of the hoof facing outward and the skin facing down. This orientation makes it easier to carve and ensures even cuts throughout the leg.
- Identify the Grain: Before making any cuts, take a moment to examine the ham and identify the direction of the muscle fibers, known as the grain. Cutting against the grain (perpendicular to the grain) will result in tender, chewy slices, maximizing the ham’s flavor and texture.
- Start at the Maca: Start cutting from the maca, the central and most flavorful part of the ham. Place your knife parallel to the surface of the ham and make a shallow incision to create a starting point. Gradually increase the depth of the cut as you go, producing thin, even slices.
- Angle Cut: To achieve the perfect cut, angle the knife slightly downward and cut with a smooth, sweeping motion. Aim for paper-thin slices to allow the ham’s delicate flavors to shine through. Avoid applying too much pressure, as this can compress the meat and alter its texture.
- Adjust Thickness as Needed: Depending on personal preference and the specific cut of ham, adjust the thickness of your slices accordingly. While some people may prefer thinner slices for a more delicate texture, others may opt for slightly thicker slices to enhance the ham’s richness and intensity of flavor.
- Trim Excess Fat: As you work your way toward the hoof end of the ham, you may find areas with excess fat or skin. Trim away unwanted parts with the knife, ensuring that each slice is free of unwanted components and shows the best qualities of the Jamón.
- Store properly: After slicing, cover the exposed surface of the ham with a clean cloth or plastic wrap to prevent it from drying out. Store leftover ham in a cool, dry place or wrap it tightly in plastic wrap and refrigerate for later enjoyment.
In conclusion, slicing Jamón Ibérico is a skill that requires precision, patience, and a deep appreciation for quality. By following these steps and techniques, you can take your Jamón Ibérico experience to new heights, savoring each slice with the reverence it deserves. Whether enjoyed alone or paired with complementary flavors, properly sliced Jamón Ibérico will delight the senses and leave a lasting impression on the most discerning palates.
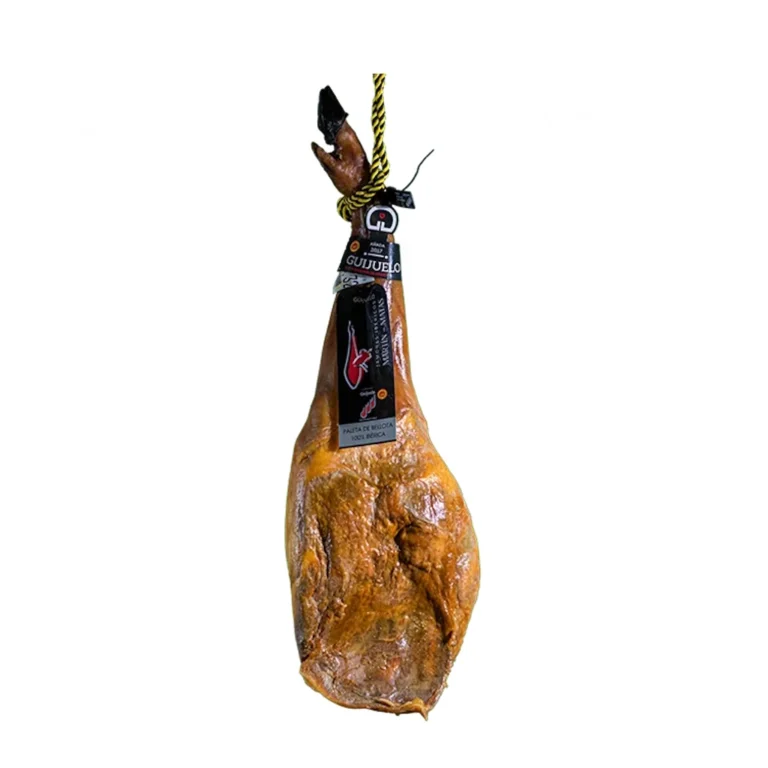
Jabugo Ham and the Art of Carving
Jabugo Iberian ham, originally from the Huelva mountains, is a food product with a Protected Designation of Origin (PDO) that certifies its superior quality. Its uniqueness lies in the breeding purity of the 100% Iberian pig, raised free-range in the dehesa and fed exclusively on acorns and natural pastures.
Production Process and Quality
Master carver Miguel Prieto Mora emphasizes the “miracle” of this product, the result of a slow and natural curing process of approximately three years. The curing process takes place in natural cellars, where opening and closing windows allows air circulation and exposure to the microclimatic variations of the mountains, allowing the piece to “expand and shrink.” This artisanal method and lengthy process transforms the pig’s leg into a unique delicacy that demands respect for the work of more than four and a half years.
To identify a quality piece, Prieto recommends observing the hoof, which should be narrow (your fingertips should touch when you grasp it). Furthermore, the presence of the vitola or seal of the Regulatory Council of the Jabugo PDO guarantees that the ham has been monitored and analyzed, ensuring its authenticity as an Iberian acorn-fed product.
Carving and tasting areas
Iberian ham presents organoleptic diversity within a single piece, with experts identifying up to seven distinct flavors. The main cutting areas with distinct flavor profiles are:
- Maza: The largest part, with great juiciness and intensity due to the alternation of meat and bacon.
- Babilla: The narrowest part, less fatty and more cured.
- Joint or Shank and Caña: Fibrous areas with an intense flavor, often cut into cubes.
- Punta or Cadera: The juiciest part with the most intense flavor, concentrating fat from the curing process.
Consumption and cutting techniques
The choice of the starting point for cutting should be strategic and linked to the rhythm of Consumption:
- Fast/active consumption: It is recommended to start with the Maza (the leg faces upwards, as if to say “give me more”).
- Slow/pause consumption: You should start with the Babilla (the narrowest part that hardens first), pointing the leg downwards (“slowly”).
Regarding the handling of the utensil, it is important to use a sharp ham knife exclusively for this purpose, since the worst cuts result from damaged or dull knives. Finally, proper preservation of the open piece involves covering the exposed surface with its own fat to create a protective layer that prevents drying out.
Nota importante: aceitedelcampo.com promueve el consumo del aceite de oliva virgen extra por sus cualidades culinarias y beneficios para la salud. No obstante, no debe sustituirse ningún medicamento o tratamiento actual sin la orientación de un profesional de la salud.
Productos que te pueden interesar
140,00 € – 160,00 €Price range: 140,00 € through 160,00 €
145,00 € – 165,00 €Price range: 145,00 € through 165,00 €
